The distinctive musty smell, yellowing leaves, and soft, blackened stems signal one of the most common yet preventable indoor plant crises: overwatering. Unlike underwatering, which plants can typically recover from quickly, waterlogged roots face a more complex challenge that requires immediate intervention and careful rehabilitation.
Overwatering doesn’t simply mean too much water at once—it refers to soil that remains consistently saturated, preventing roots from accessing the oxygen they need to function. This oxygen deprivation leads to root rot, a condition where beneficial root tissue dies and becomes susceptible to harmful bacteria and fungi.
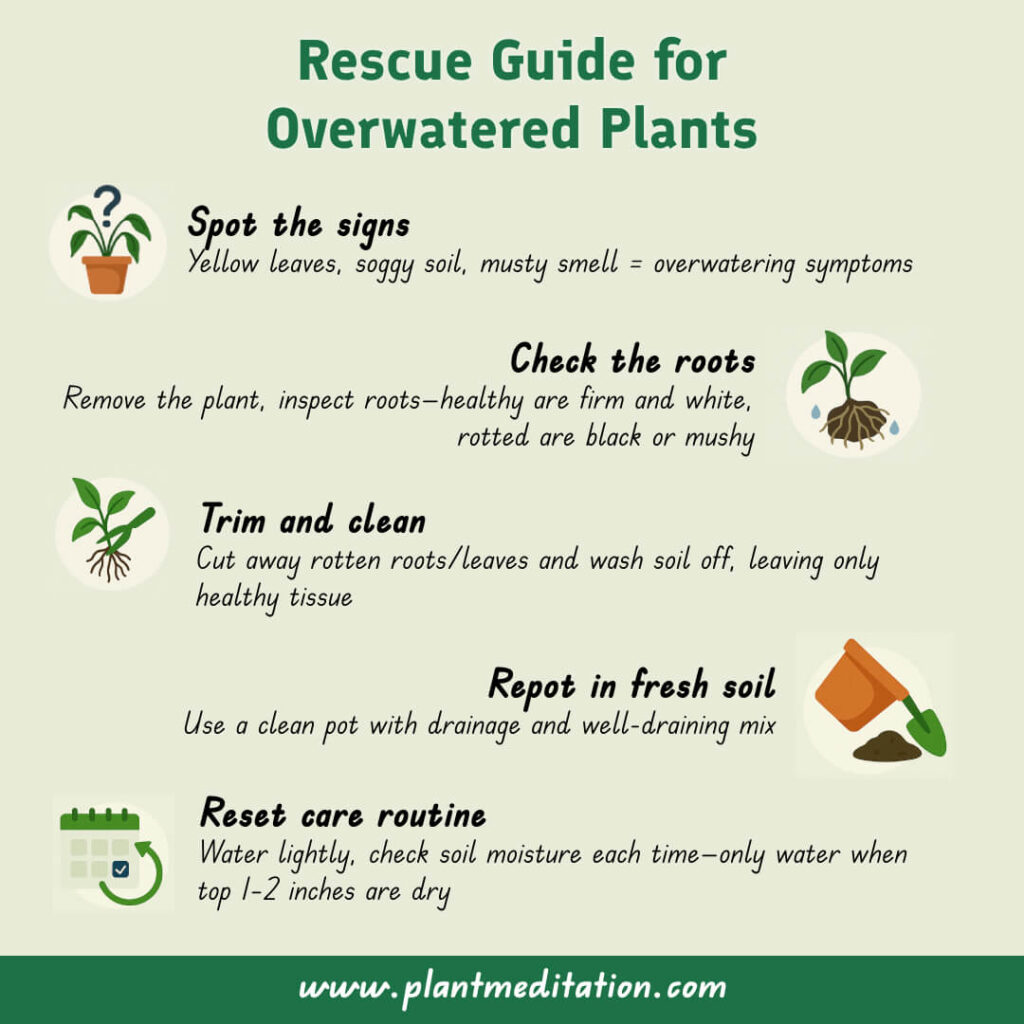
Recognizing the Warning Signs
Before attempting recovery, understanding the full scope of overwatering damage helps determine the appropriate response. Early signs include yellowing leaves that feel soft or mushy, particularly those closest to the soil. The plant may appear wilted despite moist soil, creating the deceptive impression that more water is needed.
Advanced overwatering presents more severe symptoms: black or brown stems, a foul odor emanating from the soil, and leaves that drop at the slightest touch. Fungus gnats often appear around chronically overwatered plants, thriving in the damp conditions.
The Emergency Assessment
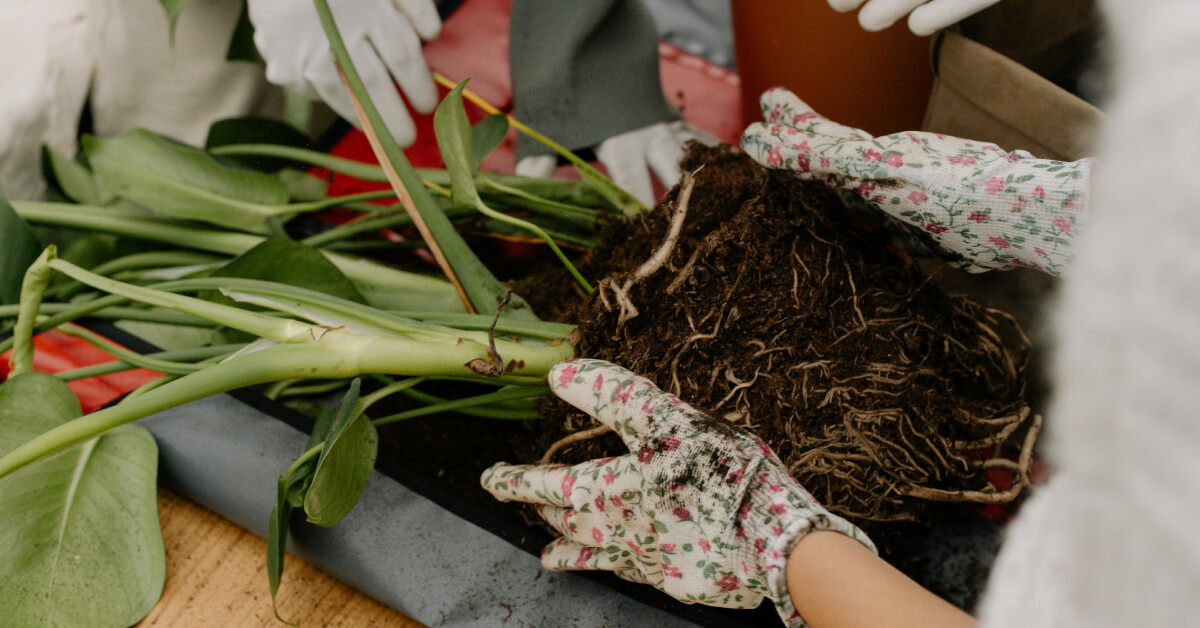
The first step in recovery involves carefully removing the plant from its pot to assess root damage. Healthy roots appear white or light tan and feel firm to the touch. Damaged roots range from light brown to black, often feeling mushy or slimy when gently squeezed.
This assessment determines the recovery approach. Plants with minimal root damage—perhaps only the outer roots showing signs of rot—can often recover with adjusted care. Extensive root damage, where more than half the root system appears compromised, requires aggressive intervention.
Immediate Intervention Steps
Root Cleaning and Trimming
Begin by gently washing away all soil from the root system under lukewarm running water. This reveals the full extent of damage and removes potentially harmful bacteria clinging to the roots. Using clean, sharp scissors or pruning shears, remove all brown, black, or mushy roots, cutting back to healthy, white tissue.
For severely damaged plants, this process may remove up to 70% of the root system. While this seems drastic, leaving rotted tissue creates an ongoing source of infection that will continue spreading to healthy roots.
Stem and Foliage Adjustment
With a significantly reduced root system, the plant cannot support its full canopy. Remove yellowed, wilted, or damaged leaves, along with any stems showing signs of rot. For plants that have lost substantial root mass, consider reducing the overall size of the plant by 30-50% to balance the root-to-shoot ratio.
This pruning redirects the plant’s limited energy toward root regeneration rather than maintaining extensive foliage.
Creating the Recovery Environment
Soil Selection and Preparation
Fresh, well-draining potting mix is essential for recovery. Avoid reusing the original soil, which may harbor harmful pathogens. A mixture designed for the specific plant type, enhanced with additional perlite or orchid bark, improves drainage and prevents future waterlogging.
Some growers add activated charcoal to the soil mix, which can help absorb excess moisture and reduce bacterial growth during the vulnerable recovery period.
Container Considerations
Choose a pot with adequate drainage holes—multiple holes are preferable to a single central drain. The container should be proportional to the remaining root system; oversized pots retain moisture longer and can perpetuate soggy conditions.
Terra cotta or unglazed ceramic pots offer superior breathability compared to plastic, allowing soil to dry more evenly. However, any container with proper drainage can work if watering practices are adjusted accordingly.
The Replanting Process
Position the plant at the same depth it was growing previously, ensuring the root crown sits slightly above the soil surface. Gently firm the soil around the roots without compacting it heavily, which could impede drainage and root growth.
Water lightly after replanting—just enough to settle the soil around the roots. The goal is to provide minimal moisture while the damaged root system begins recovery, not to saturate the growing medium.
Recovery Period Management
Lighting Adjustments
Place the recovering plant in bright, indirect light rather than its usual position. Direct sunlight increases transpiration demands on a compromised root system, potentially causing additional stress. The plant’s reduced foliage will also be more susceptible to light burn during this vulnerable period.
Watering Protocol
Developing a new watering rhythm requires careful attention to soil moisture levels. Check the soil daily by inserting a finger 1-2 inches into the growing medium. Water only when the top inch feels dry, using less water than before the overwatering incident.
The frequency will likely be much less than the previous routine—perhaps weekly rather than every few days. This adjustment often feels counterintuitive, but restricting water during recovery prevents recurring root rot.
Humidity and Air Circulation
Moderate humidity levels (40-50%) support recovery without creating the stagnant conditions that encourage fungal growth. Ensure adequate air circulation around the plant, which helps prevent moisture buildup on leaves and stems while supporting healthy respiration.

Monitoring Recovery Progress
Positive Indicators
New growth typically appears 2-4 weeks after replanting, beginning with small shoots or fresh leaves. The plant may initially appear static or even decline slightly before showing improvement—this is normal as energy redirects toward root development.
Soil that dries appropriately between waterings, without remaining soggy or becoming bone dry, indicates the plant is beginning to utilize moisture effectively again.
Warning Signs of Continued Problems
Continuing leaf drop, new yellowing, or the return of musty odors suggests ongoing root issues. Additional soft or blackened stems indicate the rot may be spreading despite intervention efforts.
If problems persist beyond 4-6 weeks, a second assessment and root cleaning may be necessary.
Prevention Strategies
Understanding Individual Plant Needs
Each plant species has specific moisture requirements that vary by season, pot size, and growing conditions. Research the particular needs of each plant rather than applying a universal watering schedule across all houseplants.
Developing Detection Skills
Learning to read soil moisture accurately prevents future overwatering incidents. Moisture meters provide objective measurements, while wooden chopsticks or skewers inserted into the soil reveal moisture levels at various depths.
Drainage Optimization
Ensure all containers have adequate drainage and that drainage holes remain clear of debris. Consider adding a layer of pebbles or broken pottery at the bottom of pots to improve water flow, though this technique works best with deeper containers.
Long-Term Recovery Expectations
Complete recovery from severe overwatering can take several months, during which the plant gradually rebuilds its root system and returns to normal growth patterns. Some plants may never fully regain their original size or vigor, particularly if the damage was extensive.
However, many plants demonstrate remarkable resilience when given proper recovery conditions. The key lies in patience, consistent care, and resisting the urge to accelerate recovery through increased watering or fertilizing.
The experience of nursing an overwatered plant back to health often creates a deeper understanding of plant needs and signals. This knowledge transforms routine care into a more intuitive practice, where subtle changes in plant appearance or behavior become early warning systems for potential problems.
Recovery from overwatering represents more than just saving a plant—it’s an opportunity to develop the careful observation and responsive care that characterizes successful indoor gardening.

